10 Tips To Organize Your Knitting and Crochet Projects
How to Organize your Knitting and Crochet Projects.
We all have many WIP’s (works in progress) but sometimes there are more hidden in that pile in one of our rooms.
Here are 10 great tips to get that organized.
One suggestion is to not start a new project until you have finished half of you works in progress. Sounds like a great idea, but usually does not happen, especially when you find a new pattern that you Really want to Try.
Use this guide to help you organize your knitting and crochet projects.
Steps

Prepare a large, clear area for organizing your projects. This will be your sorting area. Make sure it is clean and dry. The more projects that you have, the more room you will need. Good examples of places include a made bed, a clean dinner table, or a clean couch. A good rule of them is this: don’t use any surface that you don’t want your yarn touching.
Take out all your incomplete knitting and crochet projects and place them in your sorting area. Go through all your bags, closets, and boxes for all those incomplete knitting and crochet projects. Search every corner in your house for your projects; you’ll want to see every project in the same place for the following steps.

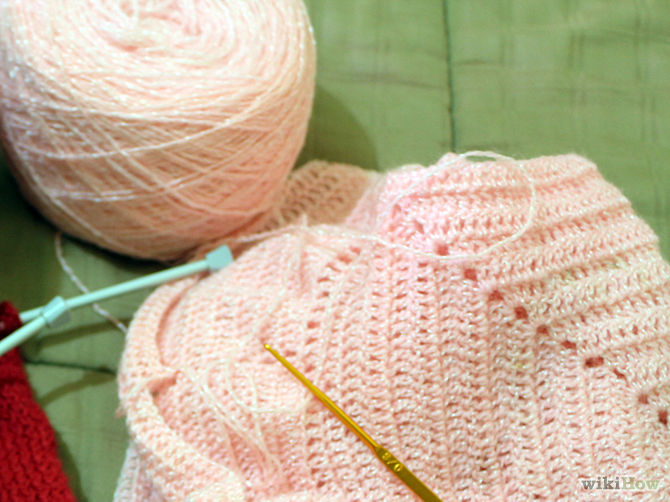
Take out your entire yarn collection and place each skein or ball of yarn in your sorting area. Again, go through all your drawers, baskets, and any other place that holds yarn. It is important for you to visualize what you have. If you find any yarn that is not in a ball, hank, or skein, this is the time to ball up your yarn.
- Line up all your yarn and take a photo while you have it out. If you can, store it in clear bins. That way, you will know what you have without getting it all out, and you will be able to find yarn later without too much digging.

Go through each of your projects, and decide whether to keep or scrap them. There are some projects that you will want to keep and other projects that you will want to get rid of. The decision of whether to get rid of a project or not is up to you.
- If you are not sure whether or not you want to keep the project, keep it for now; you can always get rid of it later.
- Date-specific projects whose date has passed should definitely be rid of. For example, an incomplete newborn-sized baby hat for a friend’s two-year-old son should be gotten rid of if you cannot give it to another newborn baby.
- If you haven’t shown any interest in the project for a year, it’s time to let the project go. The yarn can be used to make a new project.
Scrap all of the projects that you do not want to complete. Just remove any needles or hooks, grab on one of the loose ends, and pull. Ball up the yarn; most of it can be reused for something else.

Divide the remaining skeins of yarn into groups based on projects. Go through your whole pile of yarn and “assign” each skein, ball, or hank of yarn to a project. Choose yarn from your stash that will fit the each project’s needs. Always assign a few extra skeins of yarn to each project just in case you need that extra yarn. Be sure to check the dye lot numbers of all the skeins.
- If a project needs more yarn than you have, put the project and its yarn to the side; you can deal with it later.

Put each project in a separate storage place. Use whatever storage method works for you, but make sure that yarn from different projects don’t mix together; this will make it easier to find what you need for your projects. For example, if you use shelves to organize your yarn, put yarn for one project in each cubby in the shelf. If you do not have shelves or any storage container that can easily be divided into small parts, put the yarn for each project into separate gallon-sized resealable storage bags, and label the bags with the project name.

Organize any “uncommitted” yarn. All of the yarn left in your storage space should be yarn that hasn’t been assigned to any project. There are many ways to organize your yarn; pick the one that fits you the best. If you want to start a new project in the future, look to this pile first for your yarn needs; you might be able to make the project without buying new yarn.

Decide what you need to finish the remaining projects. Turn your attention back to your projects. Check the pattern for each project to see what supplies you need. Do you have all the needles, hooks, yarns, et cetera needed to make the project? Write down everything you need that you don’t have so that you will remember to pick up these items the next time you go to the craft store. Remember that you may need to use a different size hook or needle to get the gauge, so be prepared to have different sizes of needles and hooks.

Make a plan to finish the current projects. No matter how tempting, try to finish the projects that you do have before starting other projects. A good rule of thumb is this: finish half of your current projects before starting any new projects.


Thanks to WikiHow for this Article.