Avoid a Gap at the Join in Circular Knitting
| September 3, 2015 | Knitting
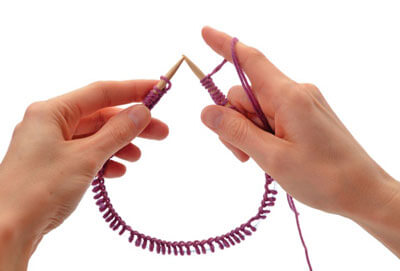
How to avoid the Dreaded Gap when doing Circular Knitting
Sometimes a small notch remains between you first and last stitches when you cast-on when you are knitting in the round.
You can usually fix this when you weave in the tail.
The Knitting for Dummies shows you a way of preventing the gap from forming right in the beginning.
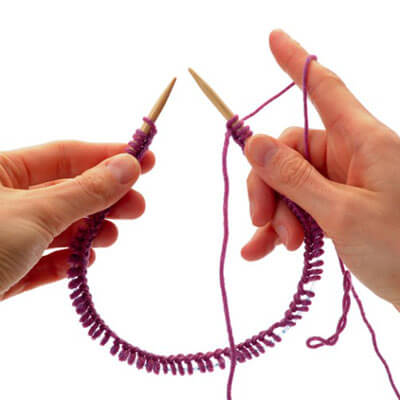
Swap the first and last cast-on stitches
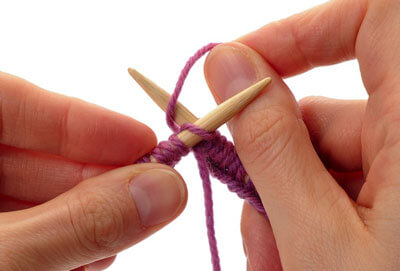
- Cast on the desired number of stitches and arrange your needles for your chosen method of knitting in the round. Make sure that the working yarn is in the correct position to work the first stitch of the round: behind the needle tips if you will be working a knit stitch, or in front of the needles if you will be working a purl stitch.
- Move the first cast-on stitch (the slipknot) from the left-hand needle to the tip of the right-hand needle.
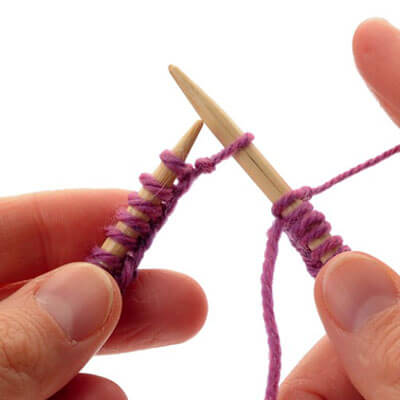
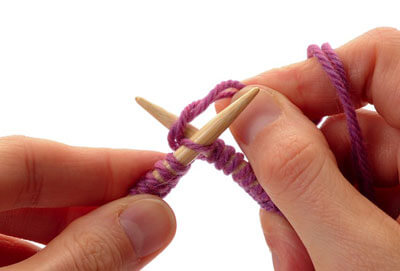
When moving this stitch, slip it as if to purl so it does not twist.
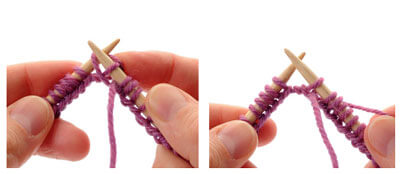
- Lift the second stitch (the last cast-on stitch) on the right needle over this slipped stitch and move it to the left-hand needle. In this way, the first and last stitches of the round exchange places and close the gap that would otherwise form at the join.
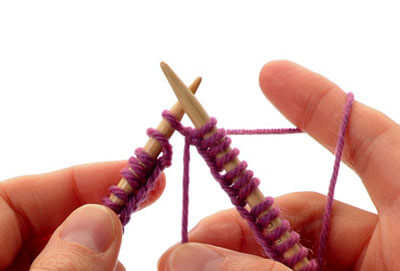
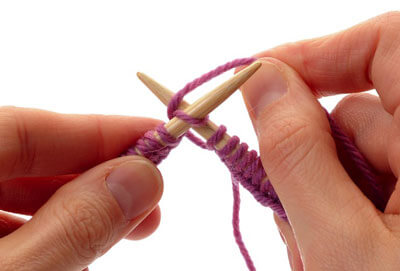
- Knit your first round as usual, starting with the first stitch on the left-hand needle.
Cast on an extra stitch and decrease it
- Cast on one stitch more than your desired number of stitches and arrange your needles in preparation to work in the round.
- Move the last cast-on stitch (the extra stitch) to the left-hand needle.
- Knit together the first two stitches on the left-hand needle (the first cast-on stitch and the extra stitch). Doing so decreases away the extra stitch and tightly joins the work into a round.
Work the first few stitches with both strands
- Cast on the desired number of stitches and arrange your needles in preparation to work in the round. Hold the working yarn and the yarn tail together to the inside of the work.
- With both strands held together, knit the first few stitches of the round. Then drop the yarn tail and finish working your project with just the working yarn.
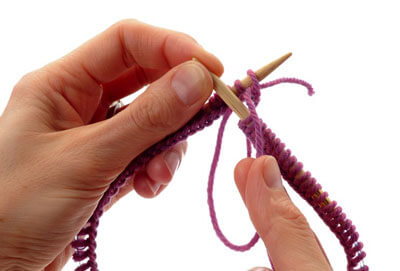
It is a good idea to practice all of the methods presented here for avoiding a gap at the join. You may find one method more comfortable than another, or you may decide to tidy up this area with the yarn tail and a seaming needle when weaving in ends. Because there is no right or wrong way to perform this neatening of your work, whatever method feels most comfortable to you is the best.
Pull the yarn tail through the first cast-on stitch
- Cast on the desired number of stitches and arrange your needles in preparation to work in the round. Using the yarn tail, knit the first cast-on stitch on the left-hand needle, but do not remove that stitch from the left-hand needle.
- Pull up on the loop you created on the left-hand needle until the yarn tail comes through the stitch. Doing so undoes the stitch you just knit, but leaves the tail pulled through the first stitch. Gently tug on the yarn tail to tighten it.
- Drop the yarn tail and use the working yarn to reknit the first cast-on stitch. Then knit to the end of the round as usual. Tighten up the join by tugging gently on the yarn tail.

Thanks to Knitting for Dummies for the Article.