Crochet Finish Technique
A technique for making your project look more finished.
Some great techniques to give you project that professional look.
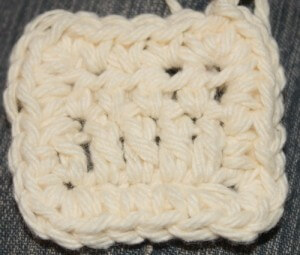
Many crochet items appear unfinished due to the uneven look of the sides. There are little “bulges” and “indents” that just don’t look as even (pretty) as the first or last rows and it can make an item look unappealing. To fix this, many patterns simply say, “Crochet Evenly Around”. What does that mean and how do you accomplish this?
What it means is that you need to crochet all the way around your piece, and place the stitches evenly around the edges so that there is an equal amount of stitches on both sides, and, of course, an equal amount on the top and bottom of your piece. First let’s look at the example.
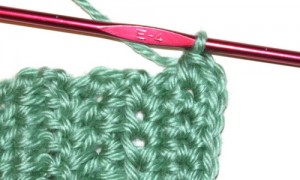
Step 1: When your piece is complete, you want to turn your work to start the edging (you can change colors at this point if your edging is to be a different color). Please note that it is best to make the first row of edging in single crochet, and then if you want to make a fancier edging, you’ll have a smooth base to work from. So, turn your work and single crochet to the end of the row. When you reach the end of the row, make 3 single crochet stitches in the corner – this is the First Rule of Thumb for this technique. This will “turn” around the corner so that you can start crocheting down the first side. Always crochet 3 stitches in the corners.
3 sc in the corner
Step 2: The second rule of thumb to remember when crocheting the sides: The size of the stitch you are crocheting over determines how many stitches to crochet. In other words, if you are crocheting down the side of a single crochet, you will crochet 1 stitch over that single crochet stitch. If it were a half-double or double crochet, then you will need to crochet 2 stitches over them.
So if you have 10 rows of double crochet in your piece, when you’re working down the side, you would end up with 20 single crochet along the edge (2 stitches for each double crochet = 20 stitches) If you were crocheting along the edge of a piece that had 15 rows of single crochet, you would end up with 15 single crocheted stitches along the edge, and so on.
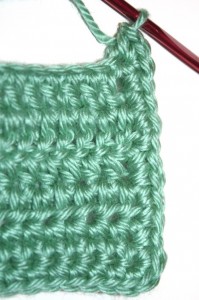
Step 3: When you get to the end of the side edge, you will again place 3 single crochet stitches in the corner. You will now be at the bottom of your piece and you are going to single crochet along the bottom.
Crocheted Side Edge
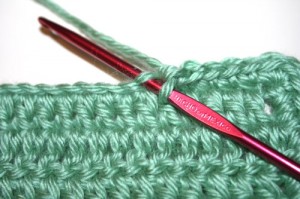
The third rule of thumb: when crocheting along the bottom, you will only crochet in the remaining loop of your initial chain. One single crochet for each loop is all that is needed. Crochet across to the next corner and place 3 single crochet stitches in the corner. You will now be turned to start crocheting down the other side.
Crochet on the bottom edge
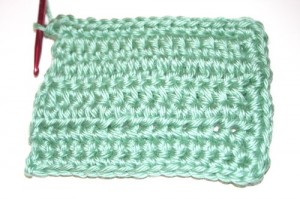
A square with edging 3/4 around
Repeat step 2 for this side. When you reach the corner, add 2 single crochet stitches to the 1st single crochet made in your edging (so that there are 3 total) and slip stitch. If you are going to add a fancy, decorative border, or just want to add more rows to your edging, you will begin it here. Be sure to chain the correct amount for your next stitch for your next row as needed (1 for sc, 2 for dc, etc.). If you are just adding more “simple” crochet (sc, hdc, dc, tr), Always remember to place 3 stitches in the corner (this would be in the 2nd stitch of the 3 corner stitches).
And that is “Crochet Evenly Around”!
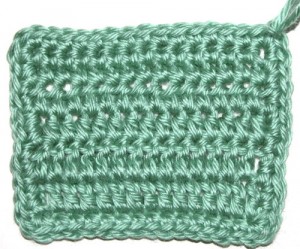
A completed square with edging
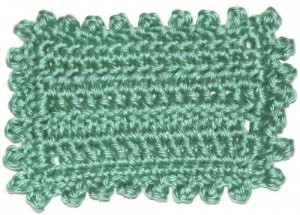
A decorative edging
This entry was posted on Thursday, October 4th, 2012 at 12:00 AM by Corinne Munger and is filed under Tutorials and Help.
Thanks to Crochet Spot for this Article.