Tricot or Tunisian crochet
This Crochet technique has many names.
- Tunisian stitch
- Tricot stitch
- Railway stitch
- Fool’s stitch
- Idiot stitch
and I am sure many more. This is sort of a combination of knitting and crochet and usually the hook is long or one with a cable in the end.
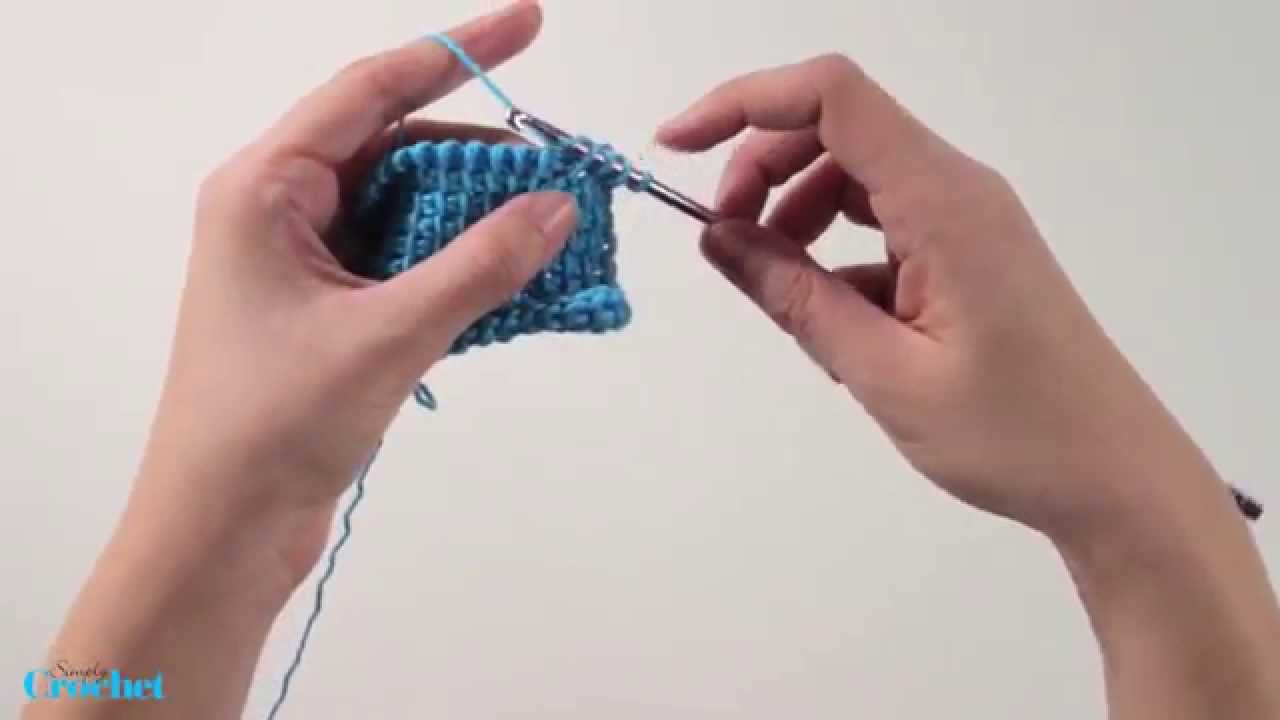
Watch this video and below it are some detailed pictures on this process.
The key difference with Tunisian crochet is that one row is made up of two parts: a ‘forward pass’ (where you pick up the stitches onto the hook) and a ‘reverse pass’ (where you work them off the hook again). This means there’s usually no need to turn your work – keep the right side facing you. Patterns usually write the two passes as one row, but they can be written in different ways, so always check before you start.
Rows of traditional Tunisian crochet have a woven look on the right side and a wavy-looking wrong side. The fabric is quite dense, which makes it great for warm garments and blankets.
It’s easy to get started working Tunisian crochet…
Just like when you’re working regular crochet, you need to work a foundation chain first. In Tunisian crochet, you also need to work a whole foundation row made up of a forward and return pass. This foundation row nearly always remains the same, regardless of the type of Tunisian stitch you are using. Work the foundation chain and foundation row (forward pass) as follows:
Make a chain of the same length as the number of stitches you want to work. For a practice swatch, ch15. Keep the tension loose, but not so loose that it distorts the edge of your fabric.
To begin the ‘forward pass’ of your foundation row, *insert the hook into the second chain from the hook:
Then yrh and pull the yarn through the chain and onto the hook:
You will now have 2 loops on your hook. Repeat the same action from * for the next chain along.
Continue working in the same way for each chain, putting one stitch onto the hook for each chain, until you have worked into the last chain – do not work into the slipknot at the end.
When you’ve finished the forward pass, you should have one loop on the hook for each chain you started with – with a chain of 15, there should be 15 loops on the hook.
How do I work the return pass?
To complete your foundation row, you now need to work the ‘return pass’, which works the loops back off the hook. This return pass is also used as the return part of the row for many basic Tunisian stitches, and you will see it referred to as the ‘Standard’ or ‘Basic’ return pass. You will have your stitches on the hook with the right side of the work facing you. Do not turn – you will be working back along the row from left to right.
Yrh and pull the hook through the first loop on the hook only:
In patterns, this is sometimes called ‘ch1’, because the action is exactly the same as making 1 chain stitch.
*Yrh and draw the yarn through the next 2 loops on the hook:
Repeat the process from * across the row, working yrh and pull through 2 loops at a time, until there is one loop remaining on the hook. You will have completed the return pass, and the loop left on your hook will make the first stitch of the next row.
How do I work Tunisian simple stitch?
After working the foundation row (forward and return pass), you can choose which Tunisian stitches to work next. We’ll show you how to work the basic Tunisian Simple Stitch.
With the right side of the work facing you, identify the vertical strands of yarn that were created in the forward pass of the foundation row. Skip the strand on the outside edge of the work and *insert the hook from right to left underneath the next vertical strand:
Yrh and draw the yarn through the vertical strand of yarn:
You will now have 2 loops on the hook:
Repeat the process from * by inserting the hook underneath the next vertical strand, yrh and draw through in the same way.
Keep going until you have worked into all the strands across the row, except for the last strand on the outside edge of the work. Up to this point, you have been inserting the hook into the front of the vertical loops that were created on the previous row, but there is also a corresponding strand at the back for each loop. For the last stitch of the row, insert your hook underneath the front and back of the loop on the outside edge, so there are two strands on the hook:
Yrh and pull through as before. This creates a firm edge, which mirrors the appearance of the edge on the other side .
With the forward pass complete, you can work the standard return pass (as explained earlier), without turning the work.
How do I finish off my work?
Your work should now look like this after one foundation row and one row of Tunisian Simple Stitch (forward and return pass):
Work in Tunisian Simple Stitch for as many rows as you need to create your fabric:
When you want to finish your work, complete the return pass of the final row. You could just fasten off at this point, or create a neater edge with a final forward pass of slip stitches. To do this, insert your hook under the next vertical strand, skipping the one on the outside edge as before:
Yrh and pull the yarn through both loops on the hook. Repeat across the row to form a neat slip stitch edge:
You may notice that Tunisian fabric tends to curl more than regular crochet. Here are a few ideas to get a flatter fabric:
1 Use a hook larger than you usually would for the yarn you’re using, such as 5mm instead of 4mm for DK-weight yarn.
2 Work into the ‘back bumps’ of the foundation chain, to help the foundation row to lie flatter.
3 It’s a good idea to tighten up the first stitch of the forward pass because the tension tends to be looser on that side of the row.
4 A firm wet blocking (where your yarn allows) will help to smooth out the fabric.
5 Work an edging of double crochet stitches all the way around your finished fabric to help stabilise it and make it lie flat.
How do I change colour?
One of the easiest ways to add interest to Tunisian Simple Stitch is to try a little colour work. You can change colour at either end of the row, to create stripes and other colour effects.
To create solid stripes, you’ll need to change colour for the start of the forward pass, which means picking up the new colour in the last yrh of the reverse pass:
Work in the new colour for the forward and return pass:
Pick up the old colour in the last yrh of the reverse pass, to create a striped effect on the next row.
A more interesting effect is to change colour at the beginning of the reverse pass. To do this, work the whole forward pass in the old colour, then pick up the new colour in the ‘ch1’ at the beginning of the reverse pass:
This will avoid a ‘jog’ in the colour stripes at this end of the row. Continue the reverse pass in the usual way to the end of the row:
You can either switch back to the old colour on the last yrh of the reverse pass, or continue in the new colour for the following forward pass. You could change back to the old colour at the start of the next reverse pass. This form of striped colourwork brings out the woven look of the fabric, with the vertical strands of the forward pass clearly visible against the contrasting colour of the reverse pass.


Thanks to Simply Crocheting Magazine for this Article.